
“The No Trim Muddler”
This is an old method I have used for over 4 decades. Yes, this tip is that old. I demonstrated this technique at a California Fly Fisherman Unlimited monthly meeting in the late 60’s. I use this method when I need to tie a large volume of small muddlers. When I go to New Zealand, I carry about 10 dozen of these in various shades of brown, green and tan. Not that I use all of them. I give a lot away to various local anglers, foreign visitors and some of my “friends” who I travel with to New Zealand. So lets begin:
Step 1:
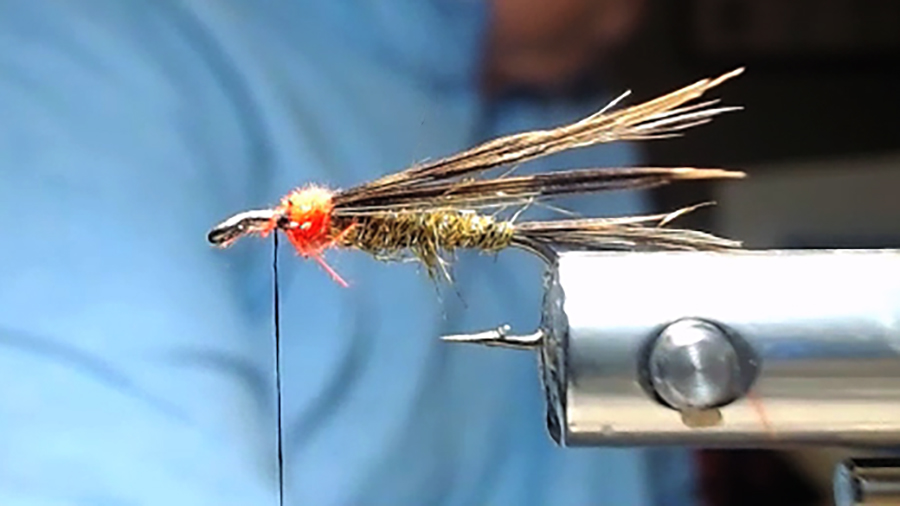
I am not going to tie the entire fly but rather just demonstrate how to make a “no trim muddler” head. This is a very simple fly. The tails and wing are dyed pheasant tail to match the color scheme I am intending to achieve, the body is something close to that scheme. One thing I am big on is having little UV material in the dubbing. I believe it makes a difference. You see… I give my friends the version that does not have UV dubbing and I catch more fish using the UV material than they do. So, it must work! (No just kidding friends always get my best flies) I use a red CDC feather twisted and wrapped on to represent the fish’s gills. Now here is where the tip begins. It is critical that the area between the base of CDC to the eye of the hook does not have any thread on it. We want the deer hair to spin freely.
Step 2:
Prepare a small bunch of deer hair, cleaning out the underfur and stacking it so all the tips are aligned. (I typically use comparadun deer hair. It is short and works great for small muddlers). Measure how far back you want your deer hair to extend. Once you have determined the length you want, cut off the excess deer hair trying to keep it even as possible. At this point, you need to position the tying thread. The closer you place it to the eye of the hook the smaller the head will be. Conversely, the closer you are to the base of CDC the larger the head will be. For our purpose, we will center the thread half way between the base of CDC and the eye of the hook.
Step 3
Pinching the deer tightly, put two loose wraps around the deer hair. Please note, the base of the deer hair does not extend any further than the eye of the hook. Ideally it should be at the base of the eye.
Step 4:
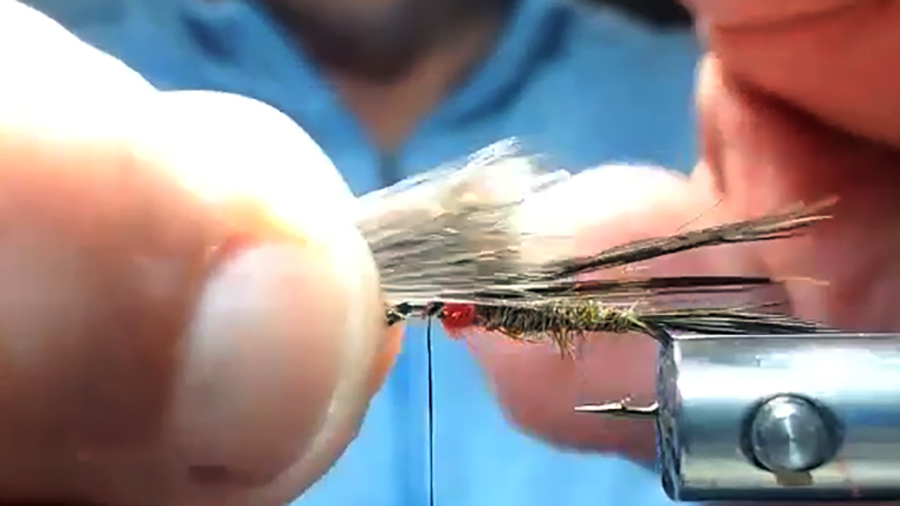
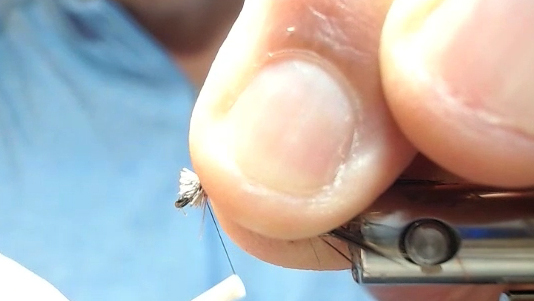
Now, pull straight down on the thread and release your pinch on the deer hair. Done correctly, the deer will spin around the hook shank. Let it spin. Once it has stopped, look at it. If it is a little lopsided, just pinch the entire deer hair and adjust it. Once you are satisfied, brush some “super” type glue on your thread. Make a few more tight wraps and whip finish the head.
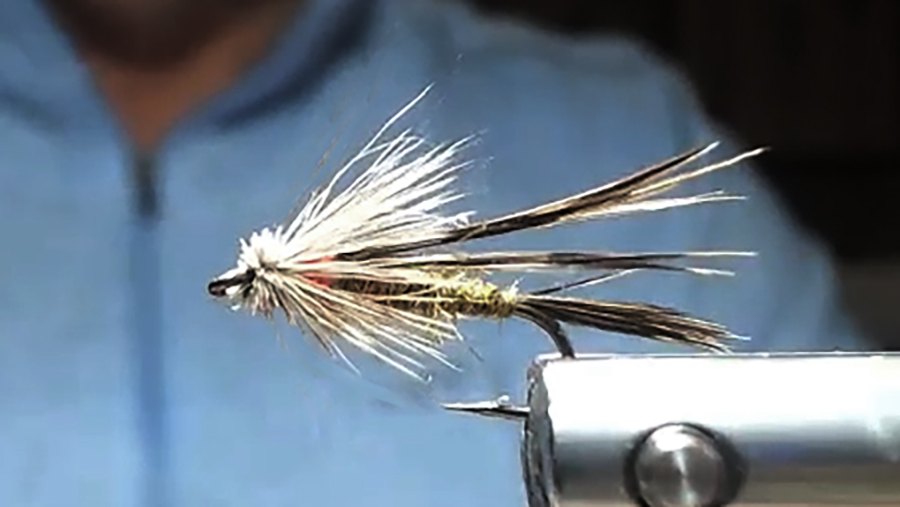
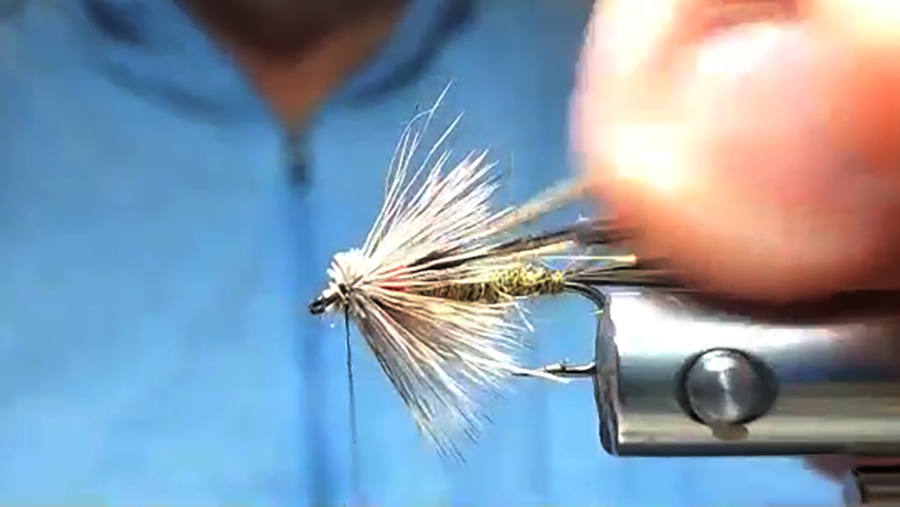
“The Finished Fly”
This is the finished version of a “no trim” muddler.
Take care, be safe and take a kid, friend or someone fishing-
And, send me your fly tying tips. webmaster@wscffi.org