
Recently I was watching a group of beginning tiers getting some instruction at a local store. The gentlemen teaching the class was very skilled and doing a great job. The class was tying a mayfly type of nymph. After they made the wing case, they were then instructed to tie in some pheasant tail fibers for legs on each side of the thorax. Well, it was interesting to see the varying legs size among the students as well as how the legs sizes varied on the same fly. Most were struggling with this method.
After the class, I spoke to the gentlemen about an easier method for tying in nymph legs. He listened and agreed it was an easier method and he wished I would had said something earlier. (The instructor mainly ties salt water flies and does not tie that many nymphs)
A simple method of creating legs on nymphs.
 When getting ready to create a wing case, we are going utilize pheasant tail fibers to create both the wing case and legs for the nymph at the same time.Strip off about 20-23 fibers of fibers for a pheasant tail, the amount of fibers will vary with the size of the nymph you are tying. On really small sizes #16-#20, you may only need 6-8 fibers.
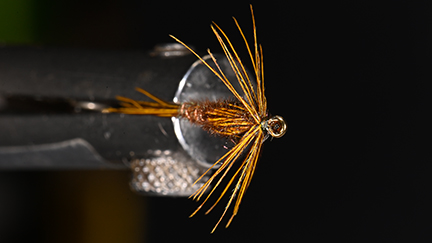
The art of this method is to make the pheasant tail fibers the proper length for creating a wing case and legs. A good starting point is to have the length of the 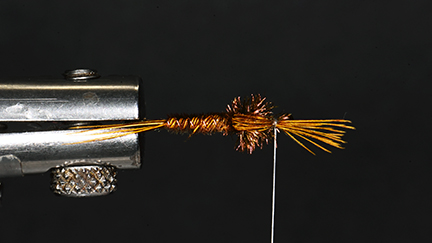 pheasant tail fibers extend to the midpoint of the tail. Now pull the wing case material forward and make a few turns with your thread. The pheasant tail fiber should be facing forward.
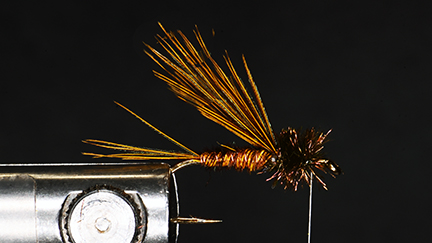
Now all you do is separate the pheasant tail fibers into two groups, then force the fibers rearward keeping them separated on each side of the hook, make a few turns of thread to hold them in place and whip finish the fly.
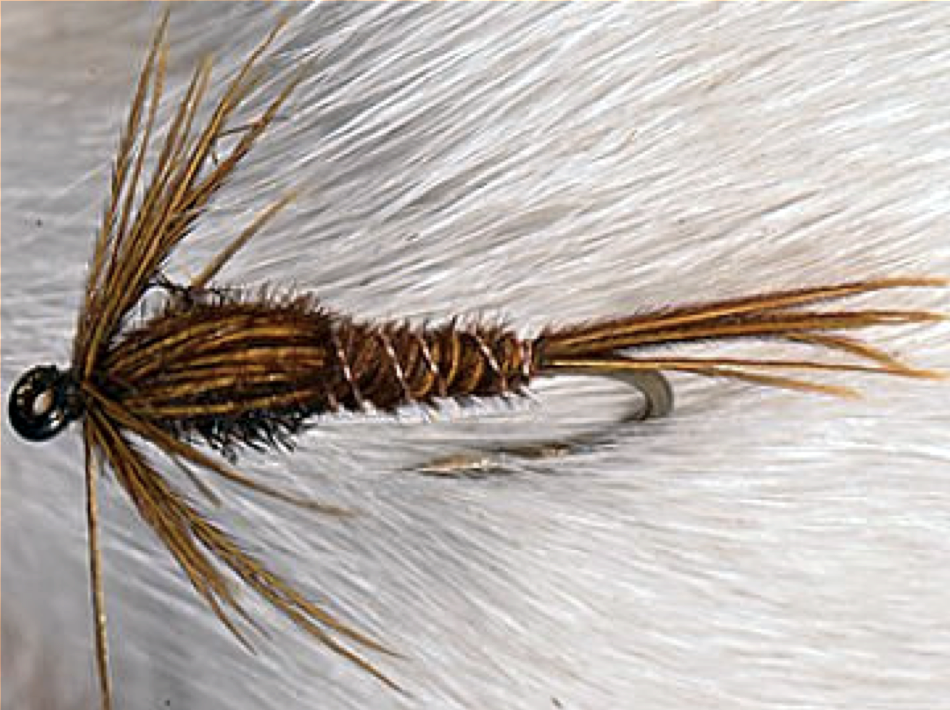
You can adjust the length of the legs by where you reference the tail!